A digital arts workshop I created for young teenagers introducing them to digital art. The workshop focused on digital art techniques, the blend of digital/traditional art, art fundamentals, and character design.
Google Slides link also accessible here.
Lesson plan for 3 hour periods, 5 days
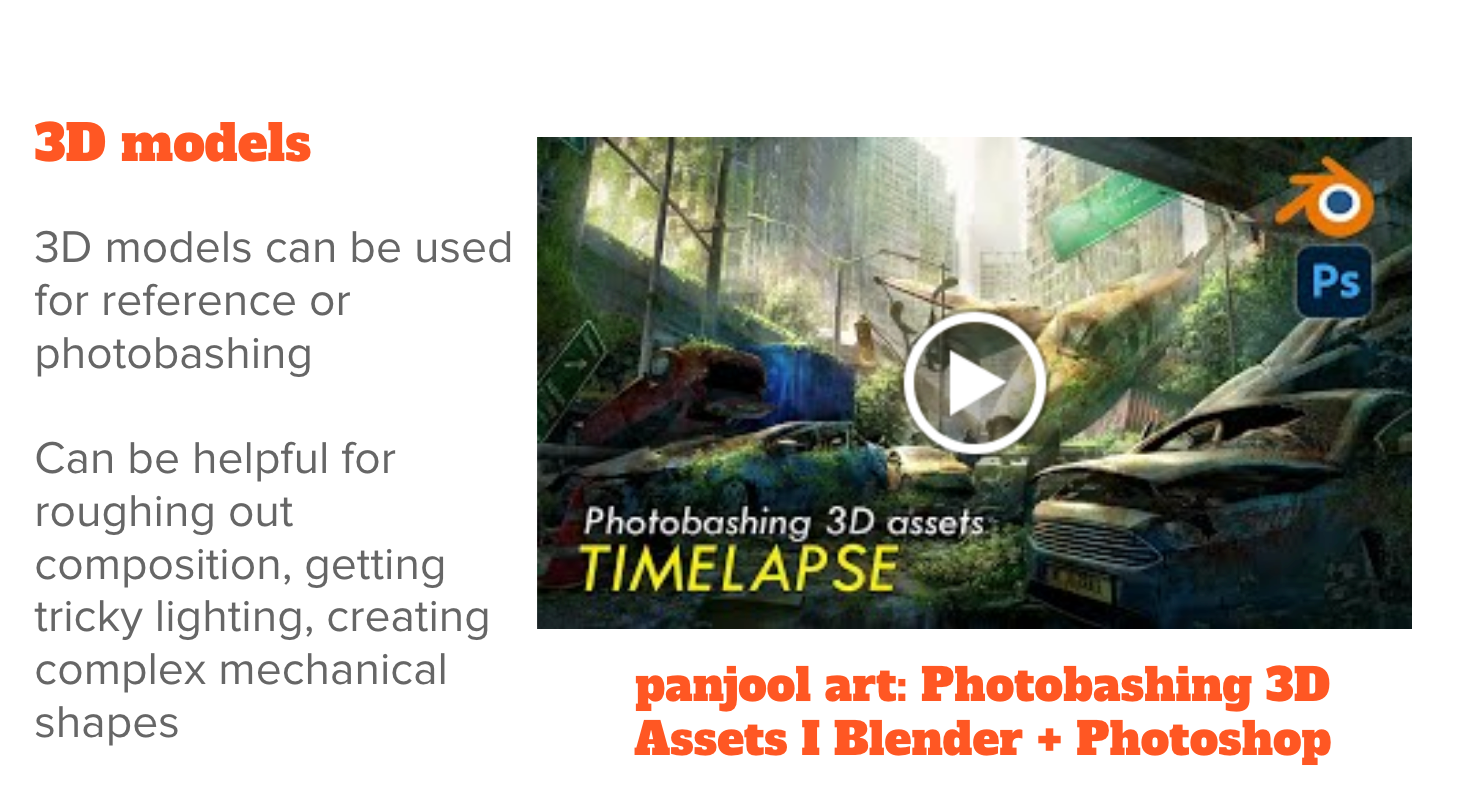
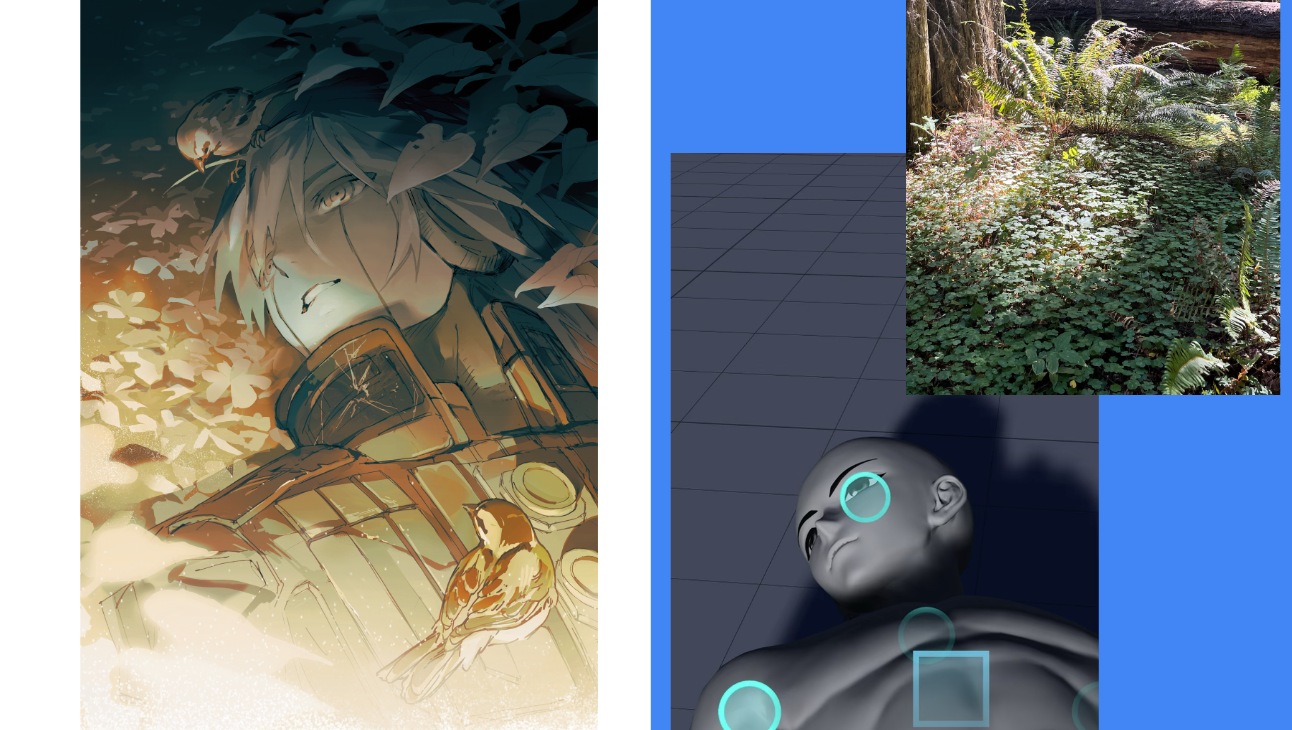
DAY 1: Intro to Digital Art and what the class is about, digital techniques (brushes, importing traditional art, photo manipulation, photobashing with 3D models and photos)
DAY 2: Exploring what makes art pieces successful, color theory (explaining layers, tools like color manipulation), difference between coloring traditionally and digitally
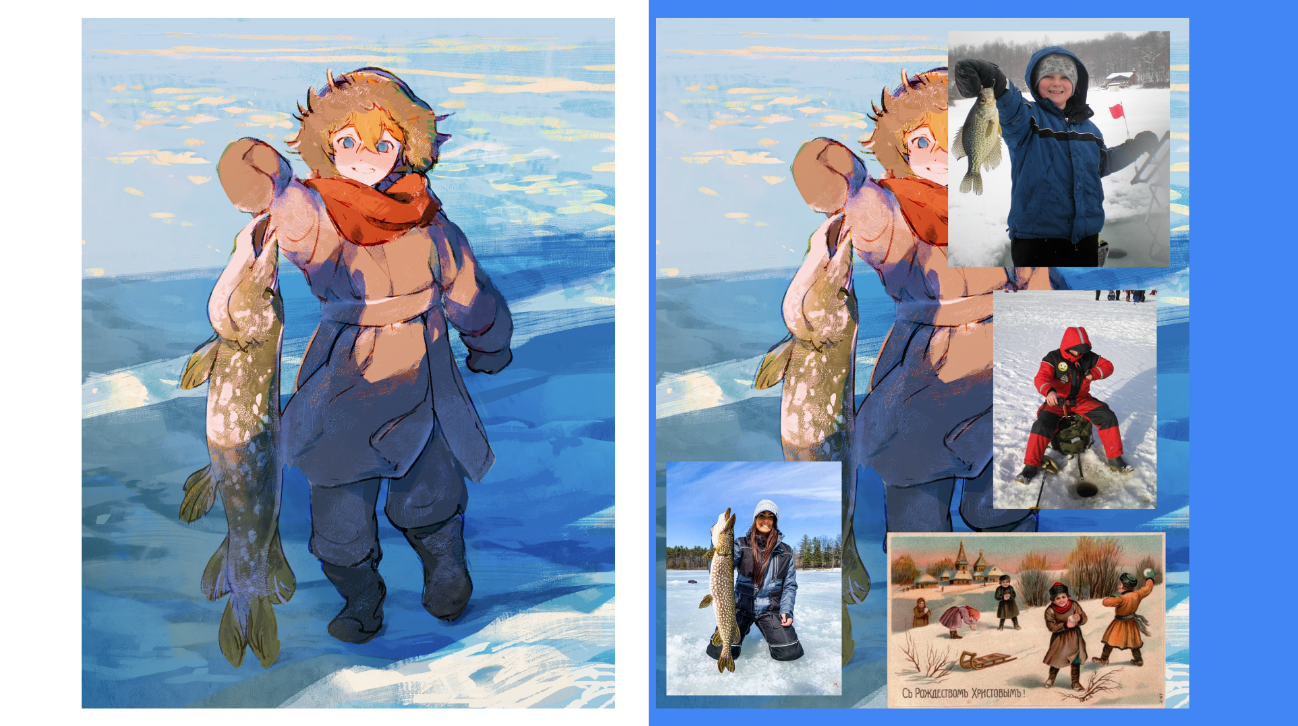
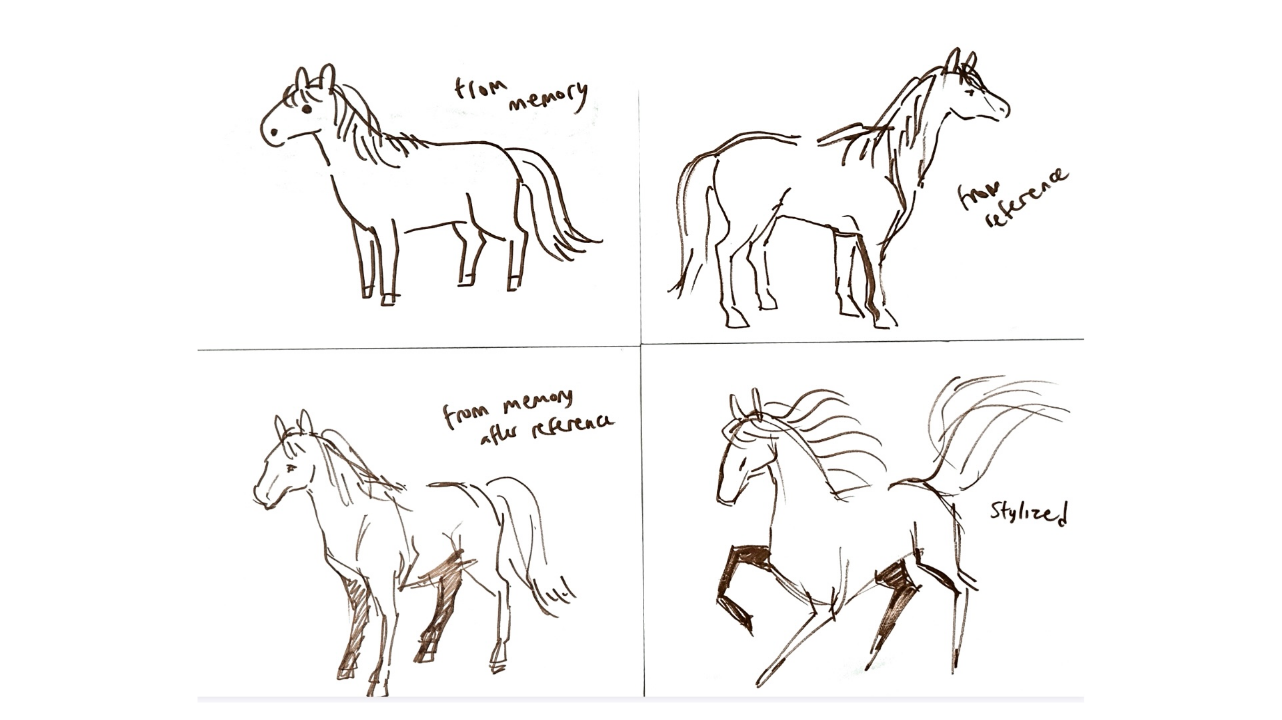
DAY 3: Using references in art: color palettes, figure drawing, pose references, 3D models. Using these references to effectively learn
DAY 4: Part 1 of Character design. Shape language, proportions, character design 'mashup'
DAY 5: Part 2 of Character design. Outfit/hair design, character expressions + posing, creating backgrounds for your character
Day 1: INTRODUCTION TO DIGITAL ART
Hour 1: Classroom Norms and Expectations, Introduction
Icebreaker: Hand out a piece of paper. Everybody goes around in a circle and introduces themselves with:
- Name
- Doodle of themselves
- Favorite thing to draw
- Favorite artist, digital or otherwise
- Goals as an artist
- Something they want to learn
Go over classroom rules, expectations for behavior, respect for others, and the importance of creating a supportive learning environment: how students expect to be treated in class and during crits, how to ask questions and ask for help in class
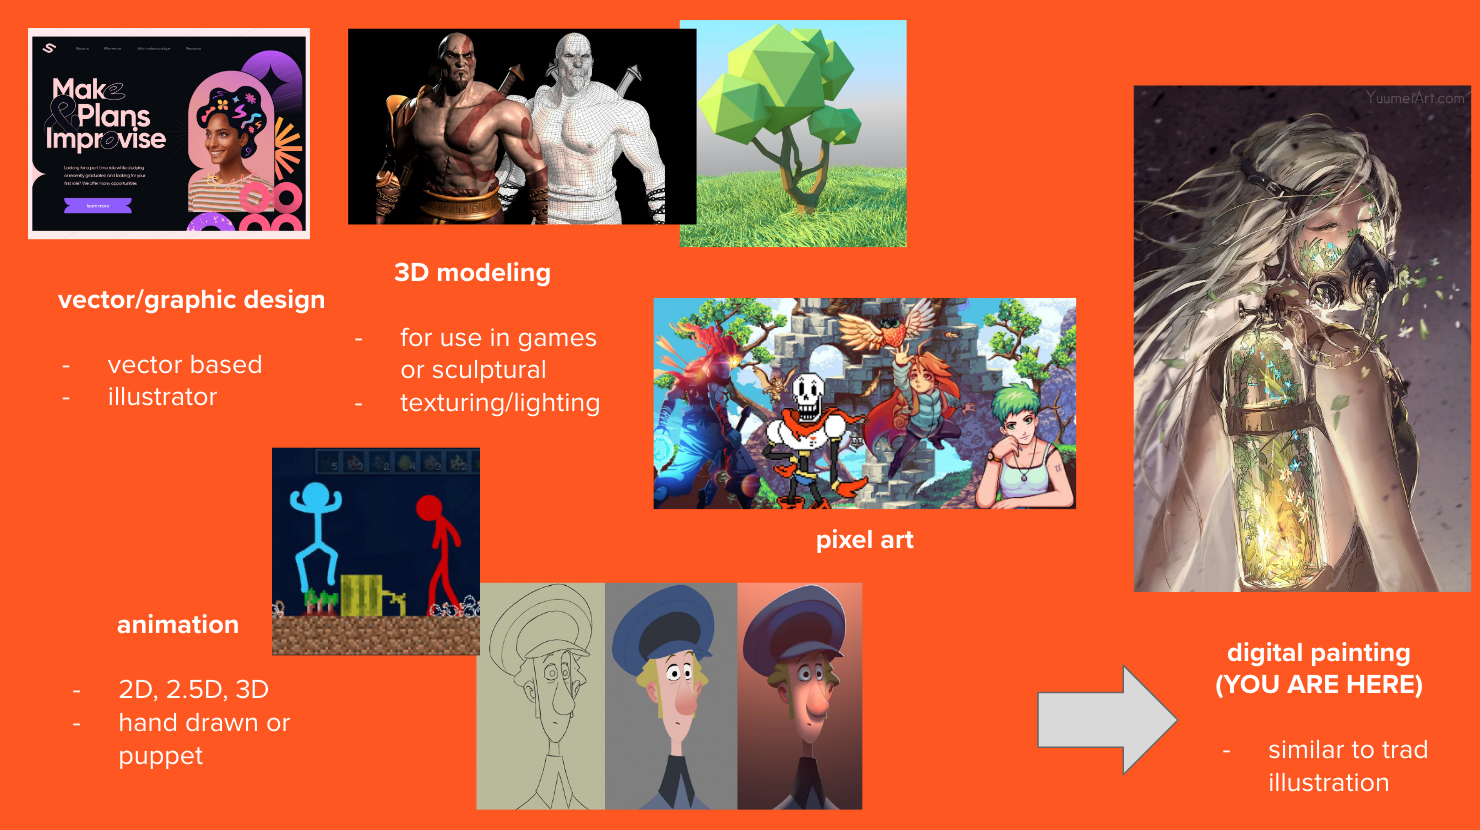
Introduction to digital art: Explain what digital art is and its various forms: digital painting, graphic design, animation (2D, 2.5D, 3D), 3D modeling
Class discussion: What makes digital art different from traditional? What are things you can get from digital you can’t get from traditional art, and vice versa?
Go over the class schedule and what I will cover in the entire class
Hour 2: Digital Brushes, Techniques, References
Discuss how artists use brushes, editing shortcuts, and references to save time in art
- e.g. brushes for painting cities, manga artists editing photos for backgrounds, artists using 3D models, photobashing
Using references: Explain how to effectively use references in digital artwork. What is the difference between tracing and referencing?
- Photo references, other artists’ work, 3D models (Sketchfab)
Digital brush techniques: Show different kind of brushes, how they can change your art, and how to edit brushes to work with your art
Traditional and digital art together: Show how to scan and import traditional artwork into digital software, and show how digital art can be used to draft for traditional art
Photo manipulation: Introduce basic photo editing techniques such as adjusting colors, selecting subjects, and blending photos into artwork. *Can focus on this less if most people are using less powerful software
Hour 3: Drawing what we learned today
Students can do any project that incorporates the techniques learned during the session
Photobashing, using different brushes in an art piece, creating a 3D scene and drawing it, importing traditional art and drawing over it digitally
Day 2: Color Theory and What Makes Up a Successful Art Piece
Hour 1: Understanding ‘Good’ Art
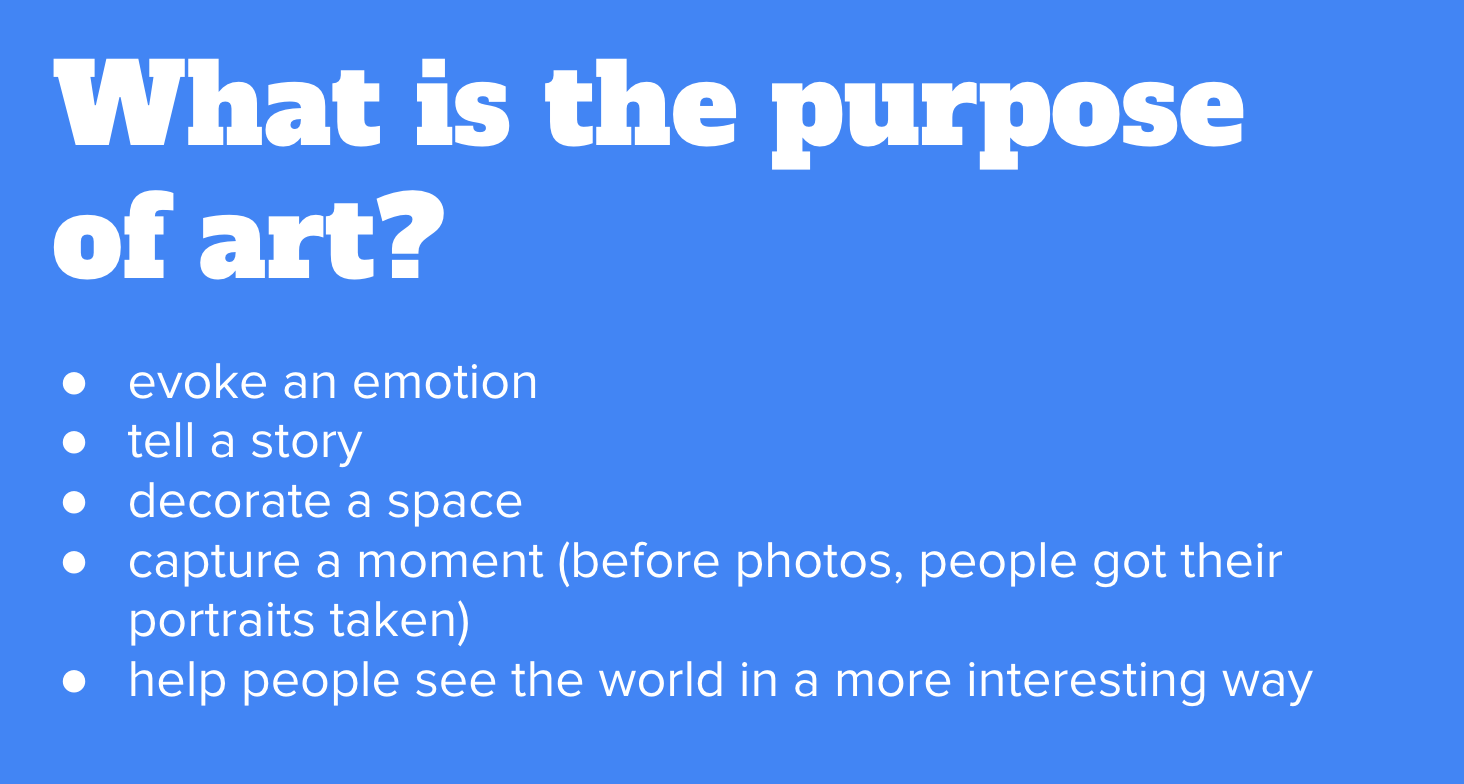
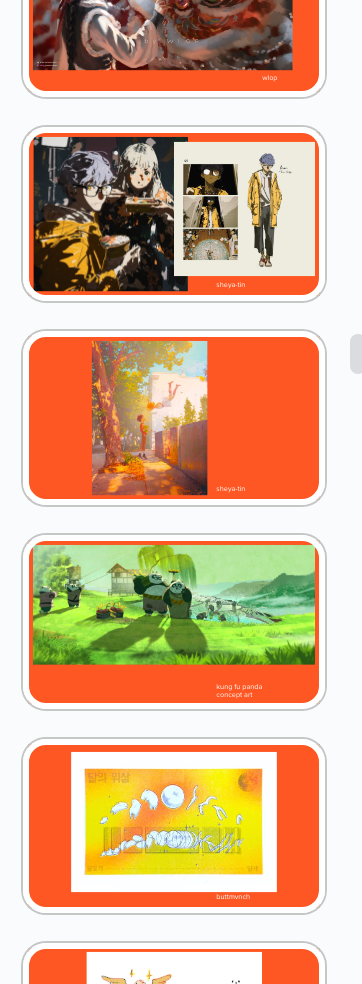
Group discussion: Analyze various art pieces and discuss what makes them successful in terms of composition, storytelling, and emotional impact. Identify common elements such as strong composition, effective use of color, and clear communication of ideas.
Hour 2: Color Theory and Digital Color Techniques
Composition: rule of thirds`
Color theory basics: Review primary, secondary, and tertiary colors, as well as concepts such as hue, saturation, and value.
Shading - how to conceptualize 3D objects. Mask layers and layer styles (multiply). Show how color and shading is used to show light
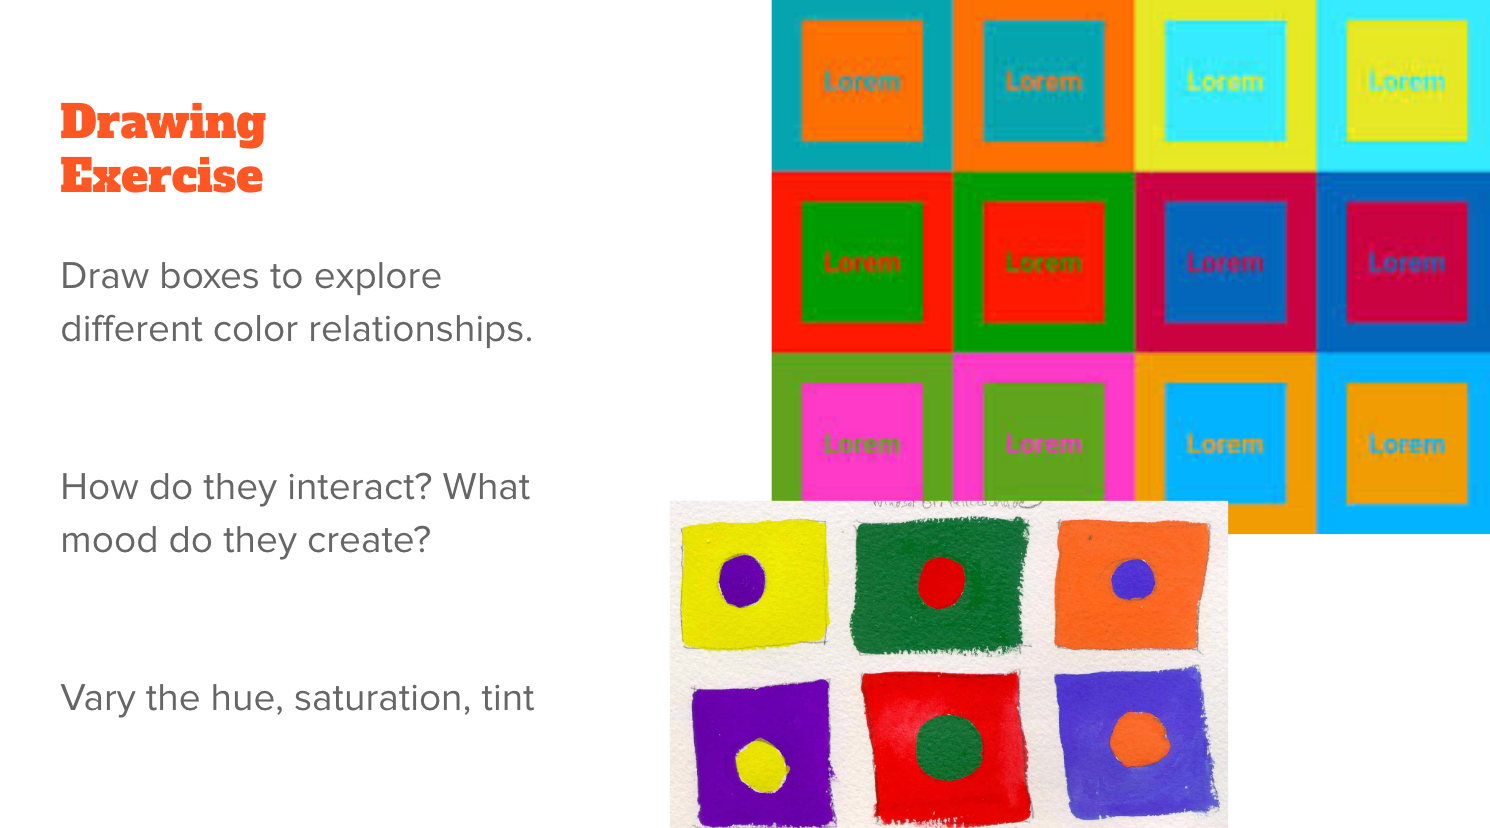
Color relationships: how to make colors vibrate, tension, create moods.
- Class activity: draw concepts with color markers
Digital color tools: Introduce color manipulation tools available in digital art software. Blending modes, adjustment layers, gradient map
Considerations for color printing: Color profiles, resolution, and printing techniques
Hour 3: Drawing what we learned today
Students can do any project that incorporates the techniques learned during the session
Drawing a picture and editing its color scheme with gradient map/color adjustments, draw a character object in changing lighting, redraw a photo and change the color palette or exaggerate the colors in some way
day 3: using references
Hour 1 + HOUR 2: DRAWING FROM MEMORY VS DRAWING FROM REFERENCE
Drawing exercise: Have students draw something in this order
- Draw from memory
- Draw looking at a reference
- Draw again, without reference
- Draw again, exaggerating some feature
Sketching techniques: Discuss how to sketch in a productive way
Draw using references, draw in a targeted way, draw things that challenge you. Don’t over rely on digital conveniences
Studying some of my pieces and the reference images/models I used to create them. Students try MagicPoser for themselves
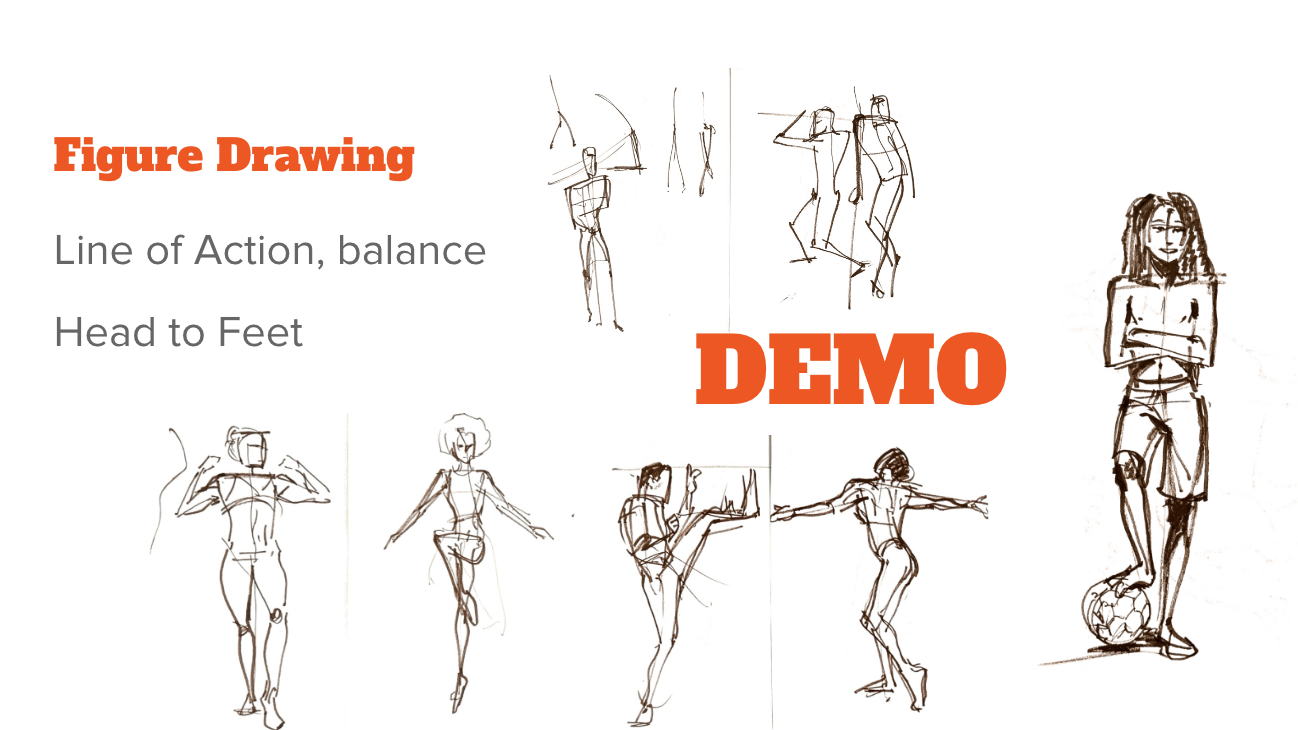
Demo of Figure Drawing
Hour 3: Drawing what we learned today
Students create a random color palette or source one from an existing image, collect a few references, and create a piece based on the references.
day 4: character design part 1
Hour 1: Character Design and Illustration
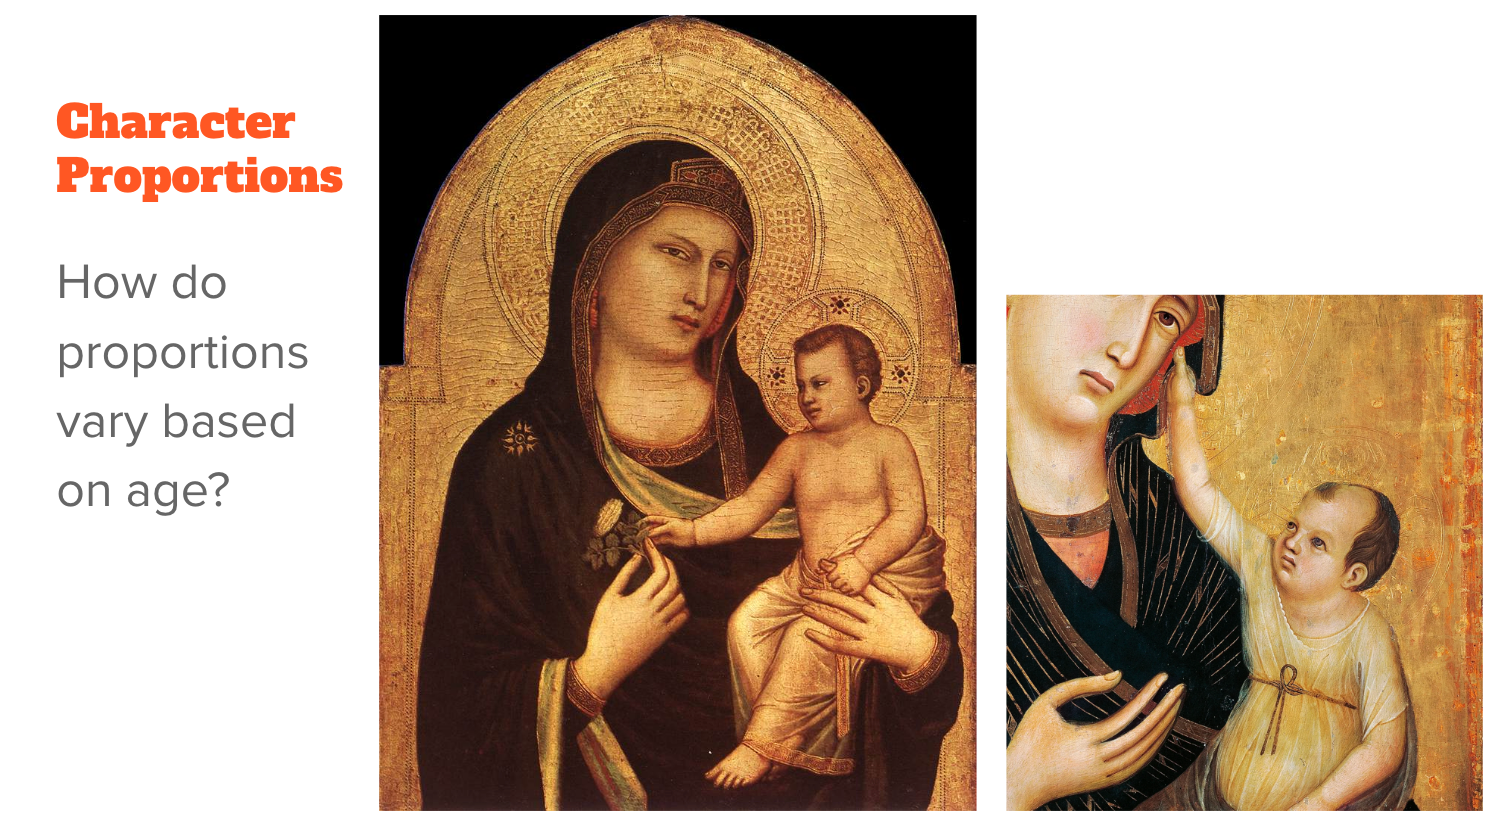
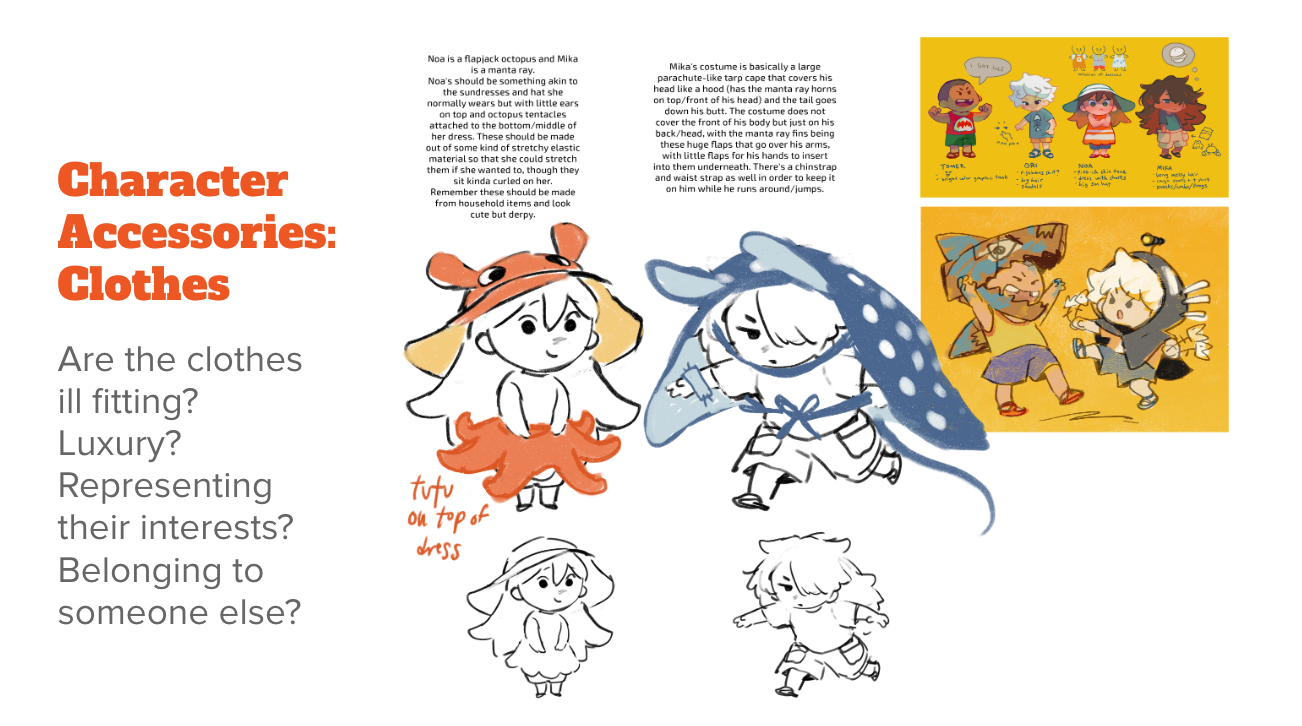
Character proportions, Clothes and outfits, Faces and hands
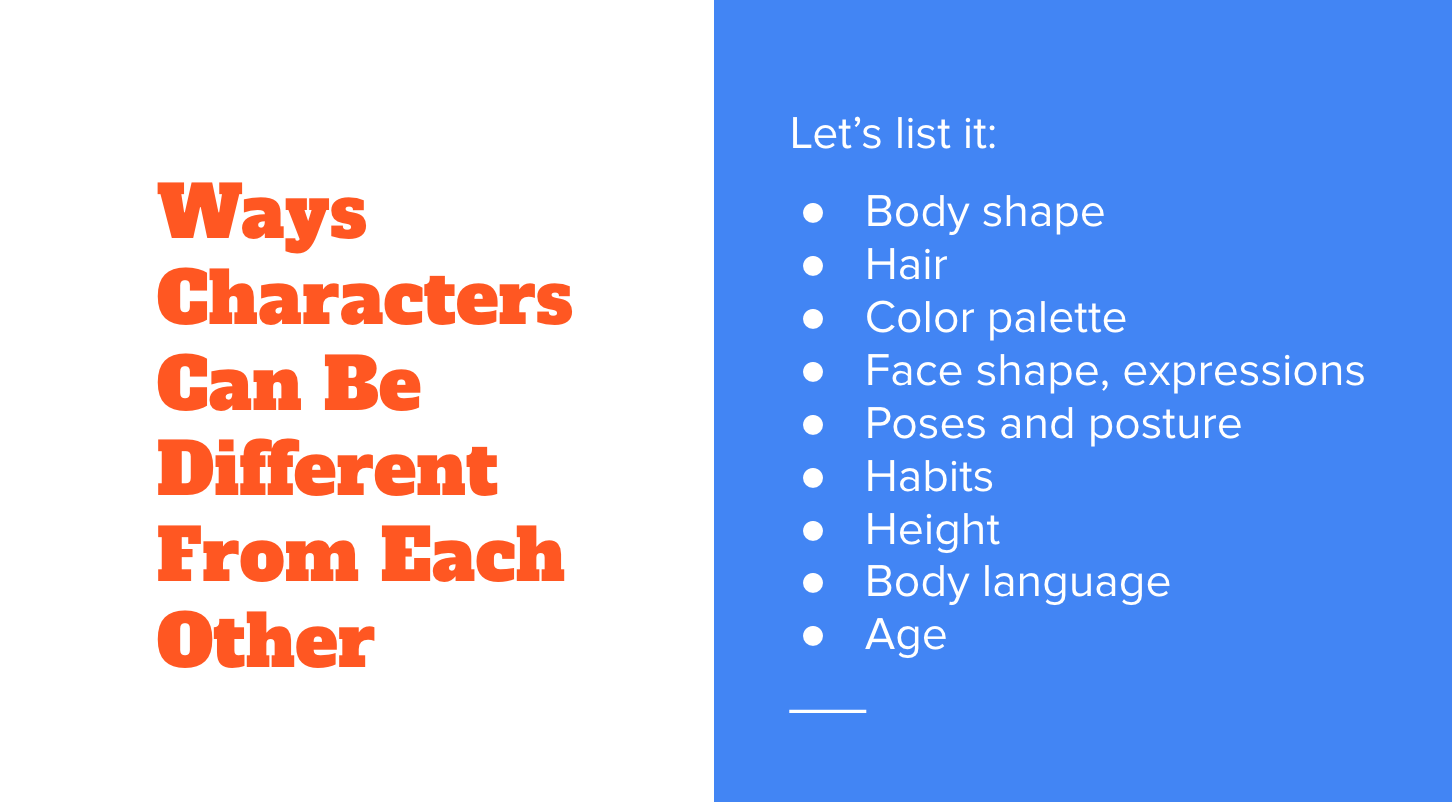
Group Activity: Looking at character silhouettes, looking at character designs and guessing things about their occupations, personalities, relationships with other characters
Character Design: Explain how posing, costumes, shape language, factor into character design
Leading into next topic…. talk about how different the metrics for ‘good’ character design is depending on its purpose: animation, manga, kids’ media, product design
Hour 2: Shape and proportion
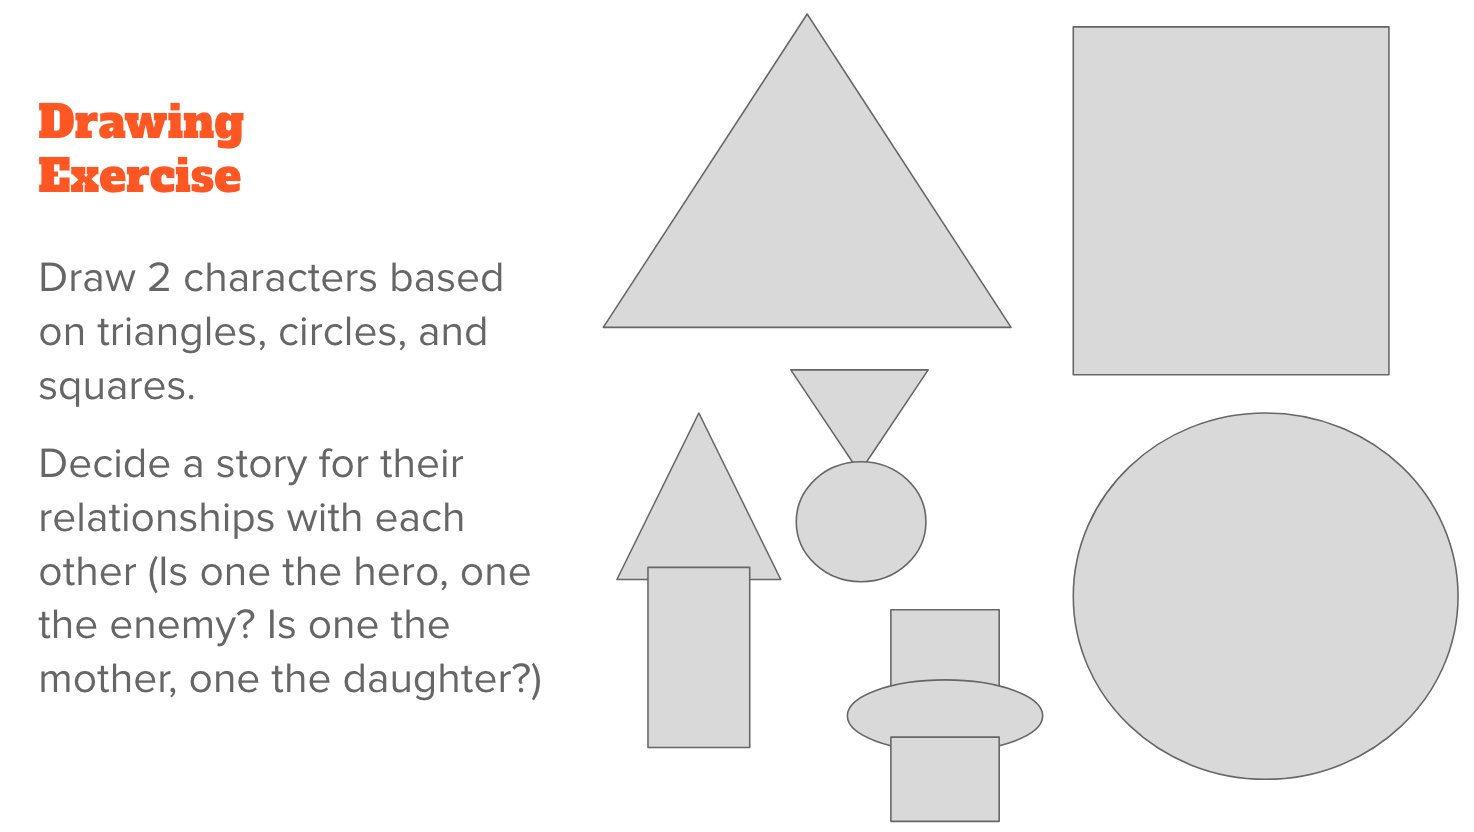
Lecture: Shape language and proportions (to show unique character structures, age)
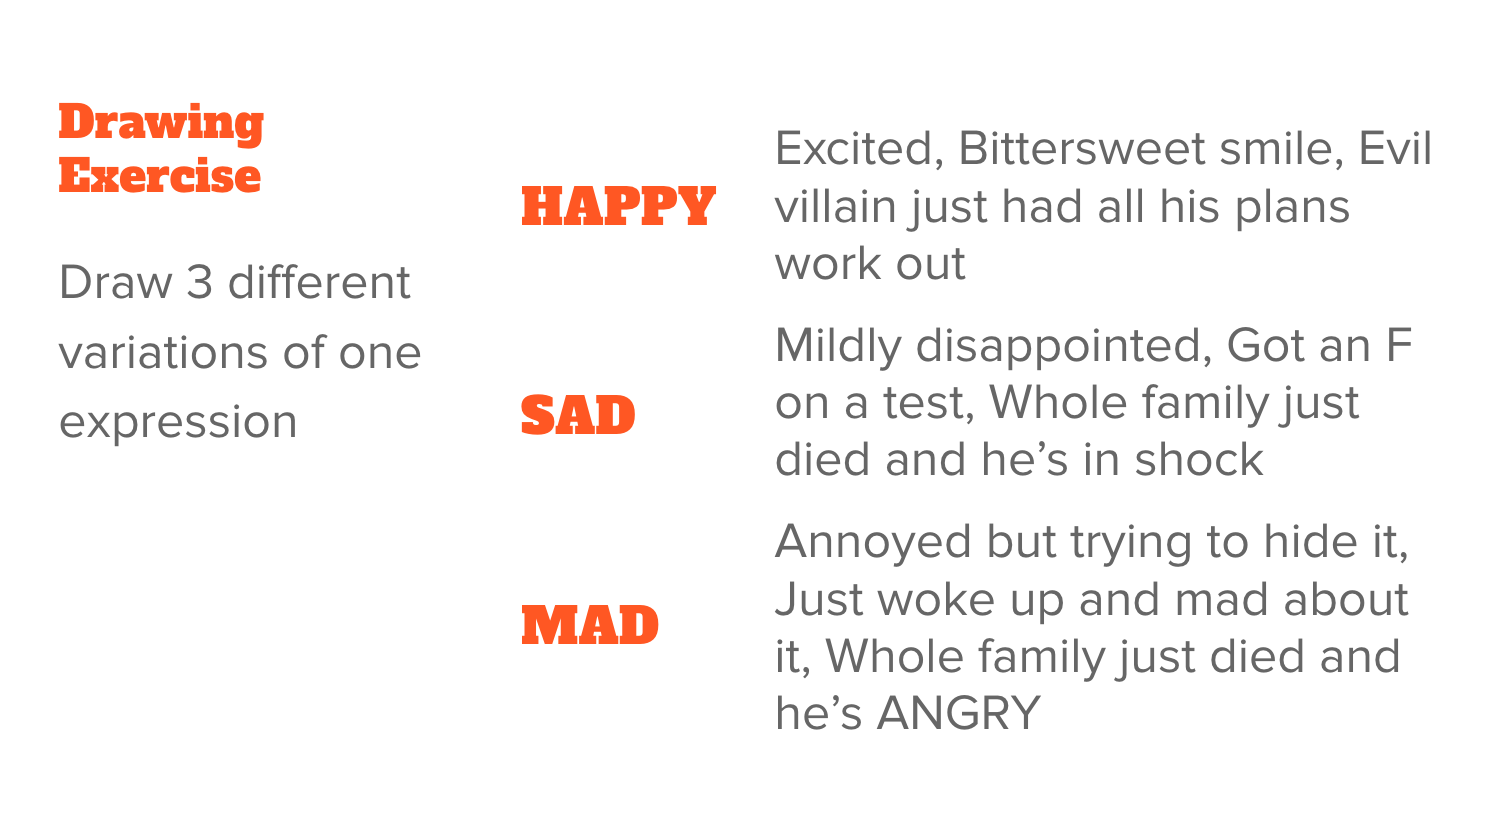
Drawing Exercise: Students create characters using shapes to inform their characterization
Hour 3: Drawing what we learned today
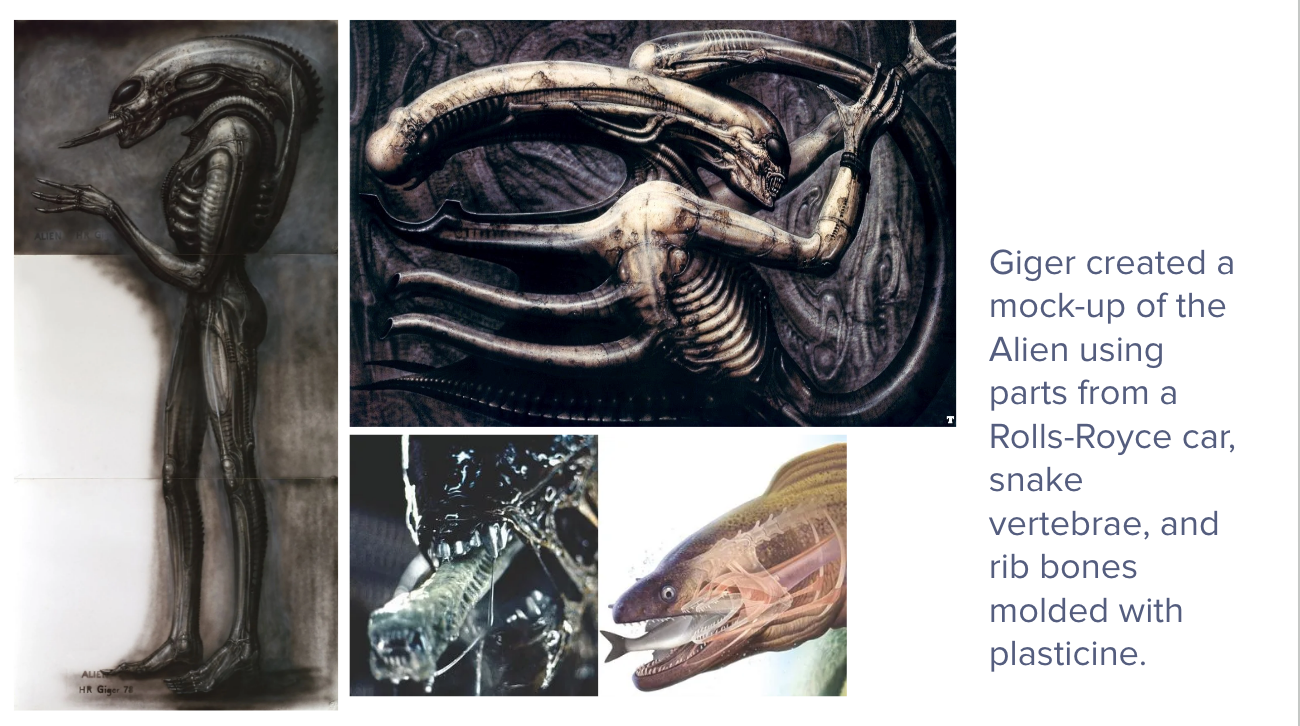
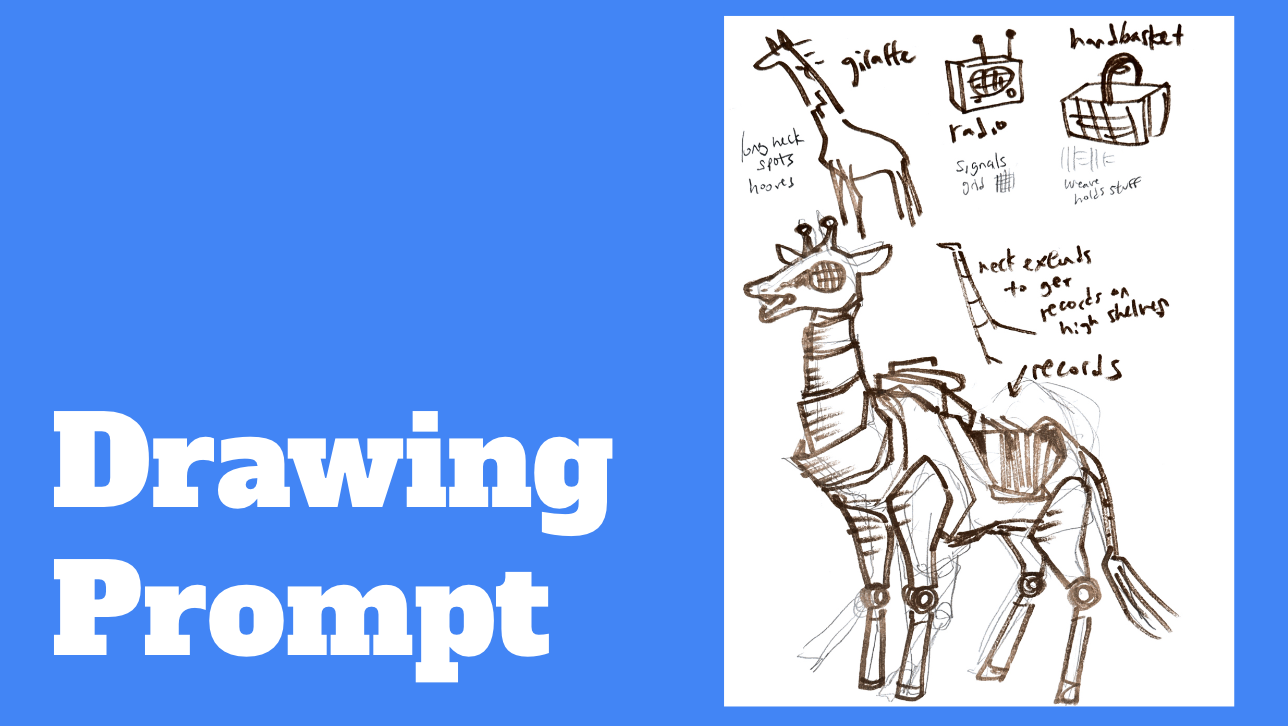
Students generate a random animal, object, and a third animal/object, listing characteristics of each and choosing features to mashup into one character. After creating one character, students create another creature featuring different characteristics, encouraging them to stretch their creativity.
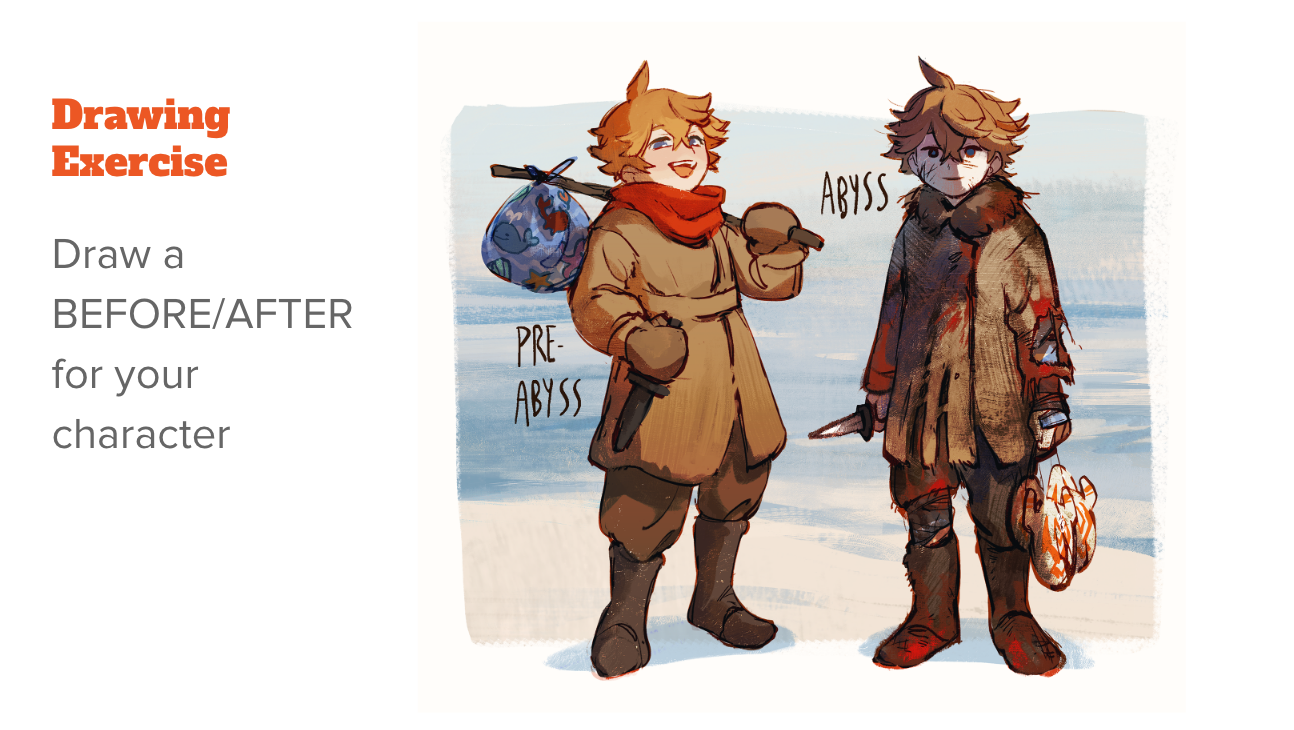
day 5: character design part 2
Hour 1 + HOUR 2: Character Design and Illustration
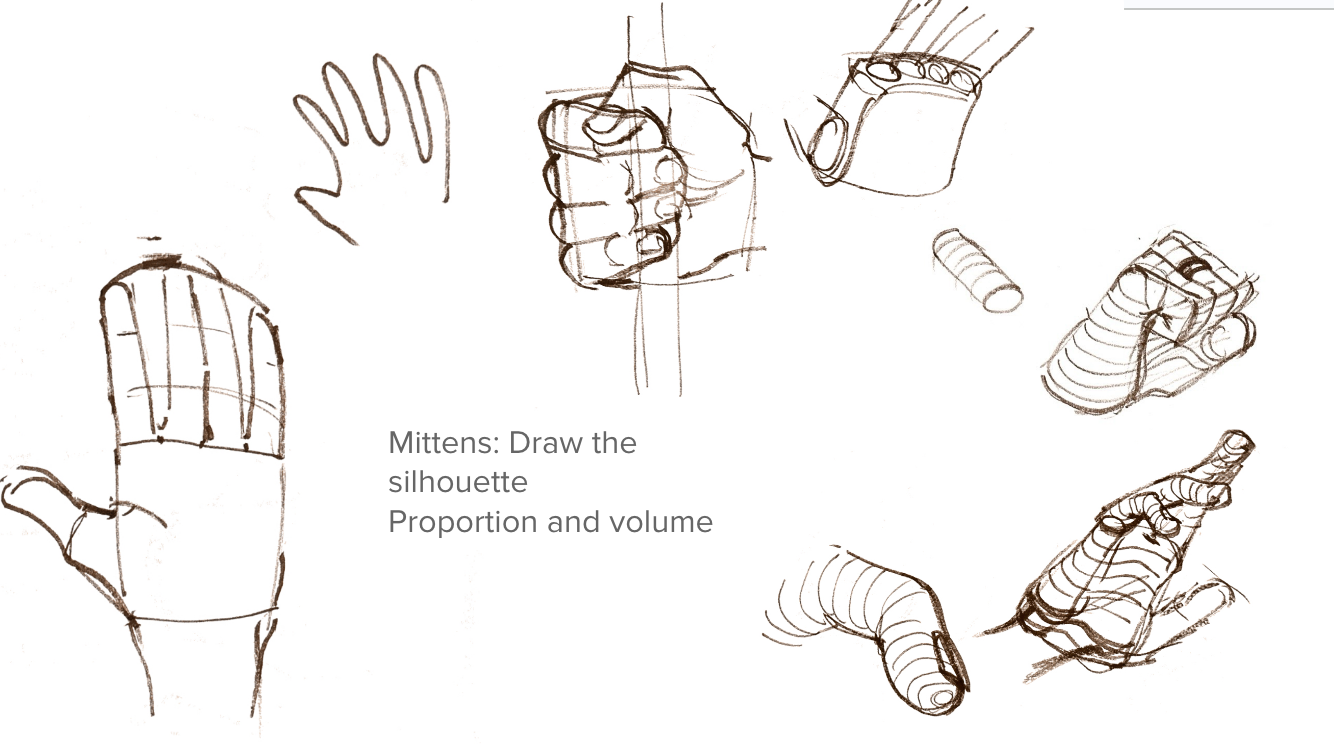
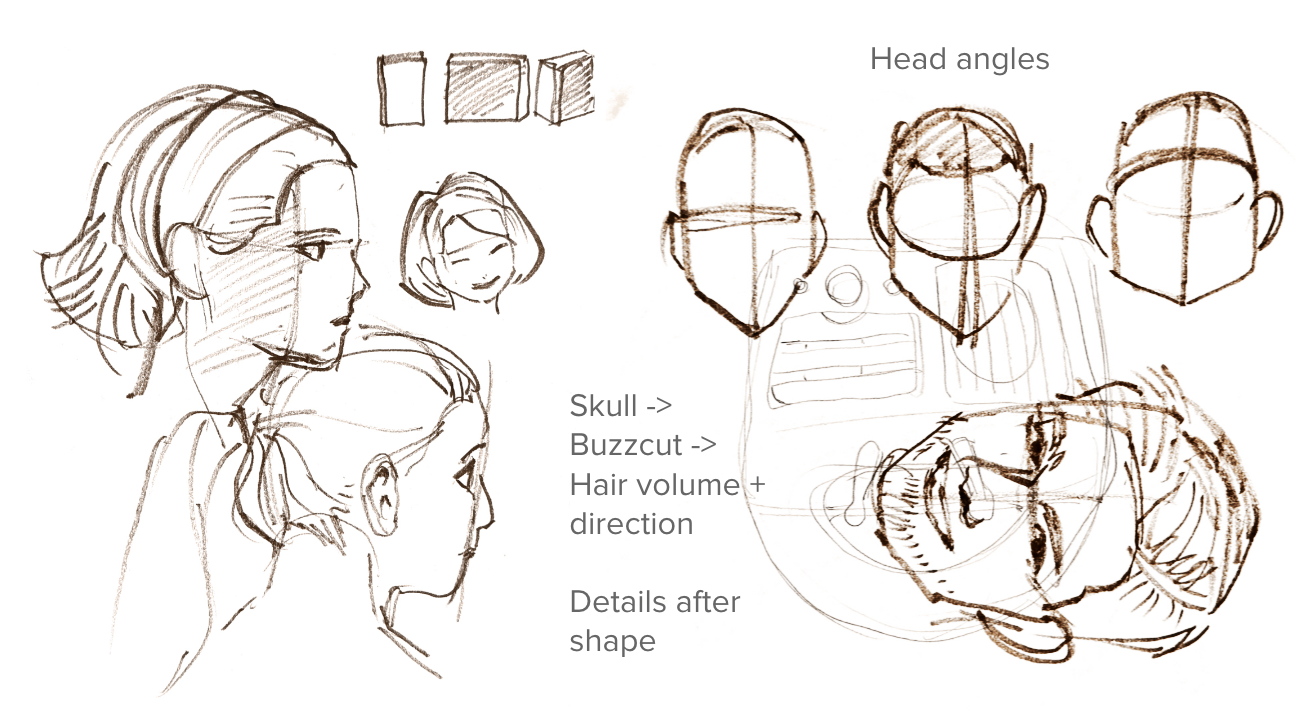
Demo: How to draw hands, hair + head angles
Group Activity: Looking at character expression sheets and examining what makes them effective and varied
Character Design: Explain how posing, costumes, shape language, factor into character design
Class Discussion: Show examples of different artists' styles and discuss what makes each one different. (Lineweight, color palette, composition, character proportions)
Demo: I draw a character + object in different styles
Hour 3: Drawing what we learned today
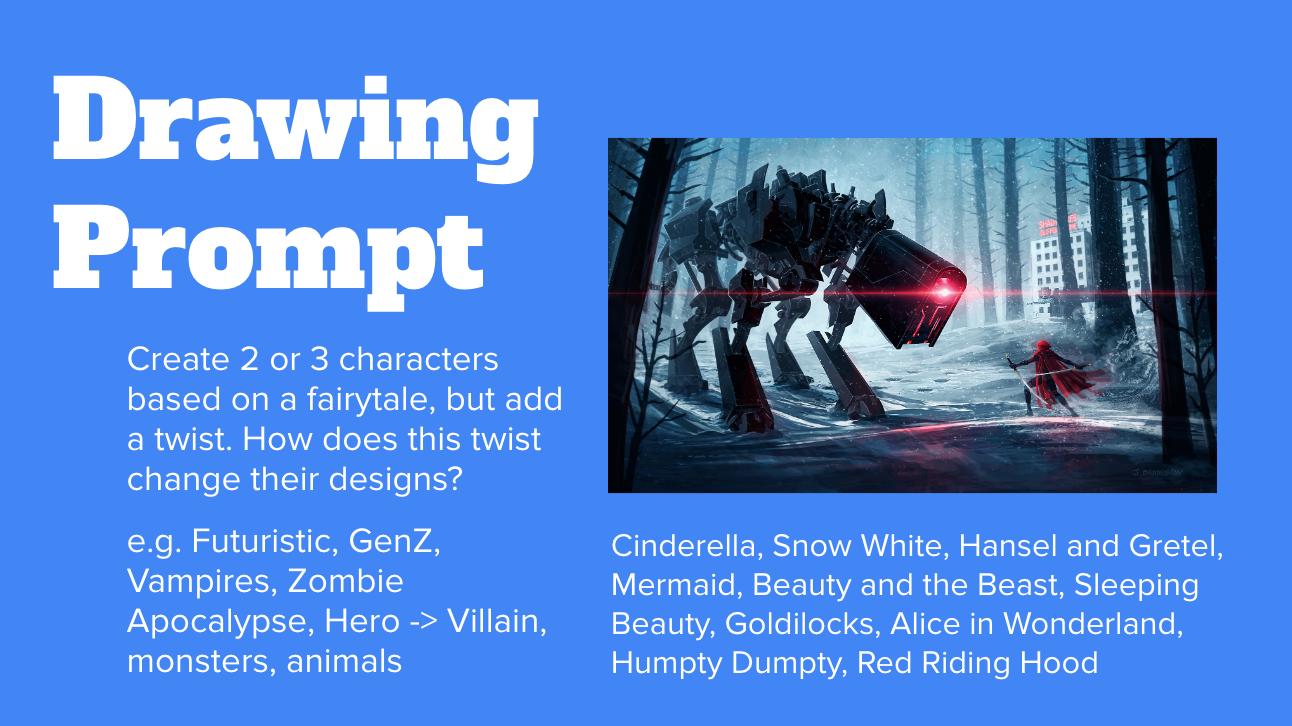
Students draw variations of existing stories: fairytales, but with a twist that changes their character designs. Next, the students further develop their characters through exploring prop and background design